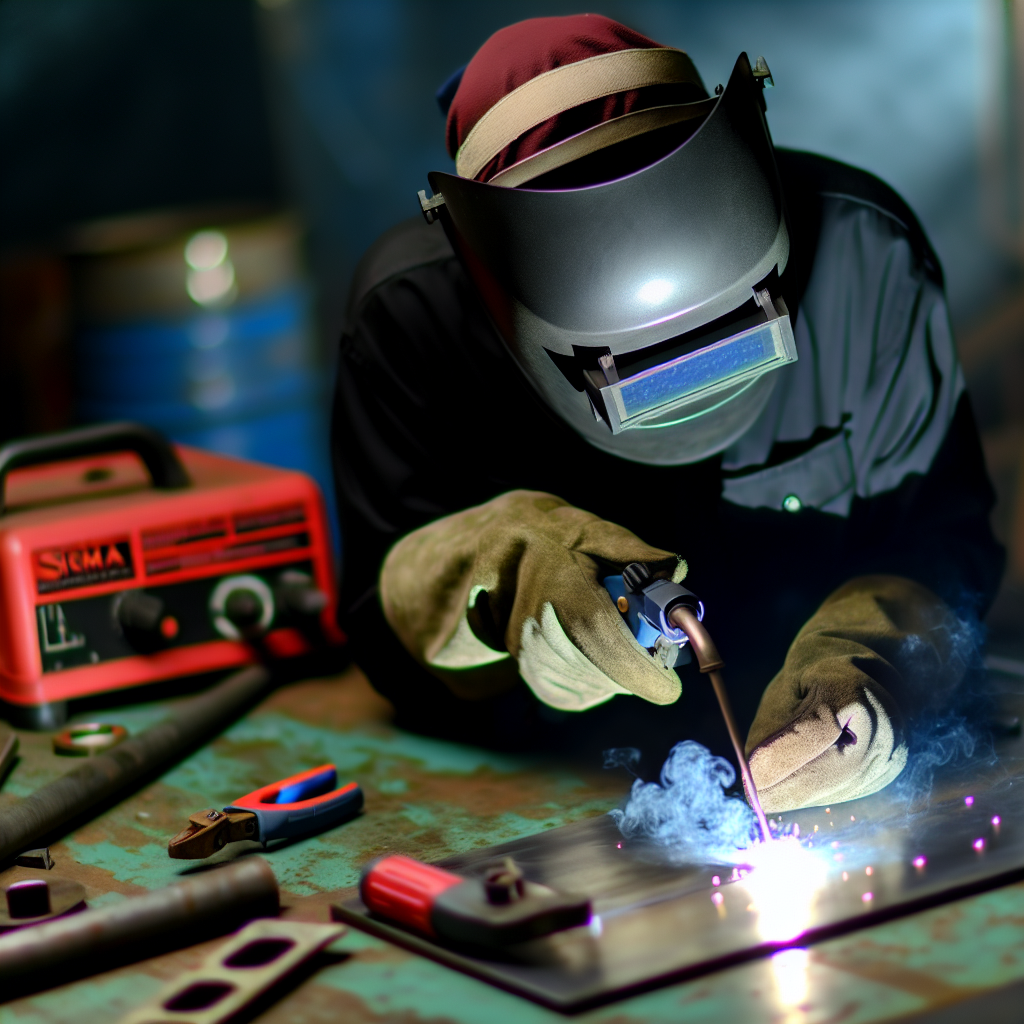
MIG welding a root, fill, and cap is a critical process for creating strong, high-quality welds in various fabrication projects. Understanding the techniques and best practices for each stage ensures optimal results, safety, and efficiency. In this article, we’ll explore the step-by-step approach to successfully welding a root, filling, and capping with MIG welding methods.
Preparing for the MIG Weld: Establishing the Root Pass
The root pass is the foundation of the weld joint, often made in a combined-edged or groove configuration. Proper preparation of the material and setup of the welding parameters are essential for achieving penetration and a strong initial bond. Before starting, ensure that the joint edges are clean, free of contaminants like rust or oil, and properly beveled if necessary. Select a suitable wire and shielding gas, typically a solid MIG wire such as ER70S-6 with a 75/25 or 80/20 Argon/CO2 mixture, which offers good penetration and bead quality.
During the root pass, focus on maintaining a consistent travel speed and electrode angle, usually about 15-20 degrees from vertical, to ensure full penetration without defects such as burn-through or lack of fusion. Using techniques like stringer beads or weaving can help control the weld pool, especially in tight or complex joints. Adequate heat input is crucial here since it influences penetration and weld integrity for subsequent passes.
Filling and Capping: Building Strength and Protecting the Weld
Once the root pass is completed and solidified, the next step involves adding fill passes and eventually capping the joint. This process not only reinforces the weld but also provides a protective layer that shields the weld from environmental damage. When filling, maintain a steady arc and use overlapping beads to ensure consistent coverage. For caps, precision in bead placement and size is vital to achieve a smooth, aesthetically pleasing finish while maintaining weld integrity.
Controlling heat input remains important during fill and cap passes. Too much heat can cause warping or burn-through, while too little may lead to lack of fusion or porosity. Use of proper technique, such as weaving or stringer beads, helps fill irregularities and ensures uniformity. Additionally, applying proper shielding gas coverage minimizes contamination that could weaken the weld. Post-weld inspection, such as visual checks and non-destructive testing, helps verify the quality of the fill and cap layers.
Final Considerations for MIG Welding a Root, Fill, and Cap
Employing the correct technique during each phase of the welding process ensures a durable, high-quality weld. The root pass requires precise preparation and penetration, while the fill and cap layers focus on reinforcement and protection. Consistent technique, proper equipment setup, and thorough inspection are essential elements for successful MIG welding of complex joints. Remember, practice combined with adherence to safety standards creates the best results.
In summary, mastering MIG welding for the root, fill, and cap stages involves a clear understanding of joint preparation, technique, and quality control. Each phase plays a vital role in producing a strong, defect-free weld that stands the test of time. Whether you’re a beginner or experienced welder, following these detailed steps will help you achieve professional results and improved confidence in your welding projects.
