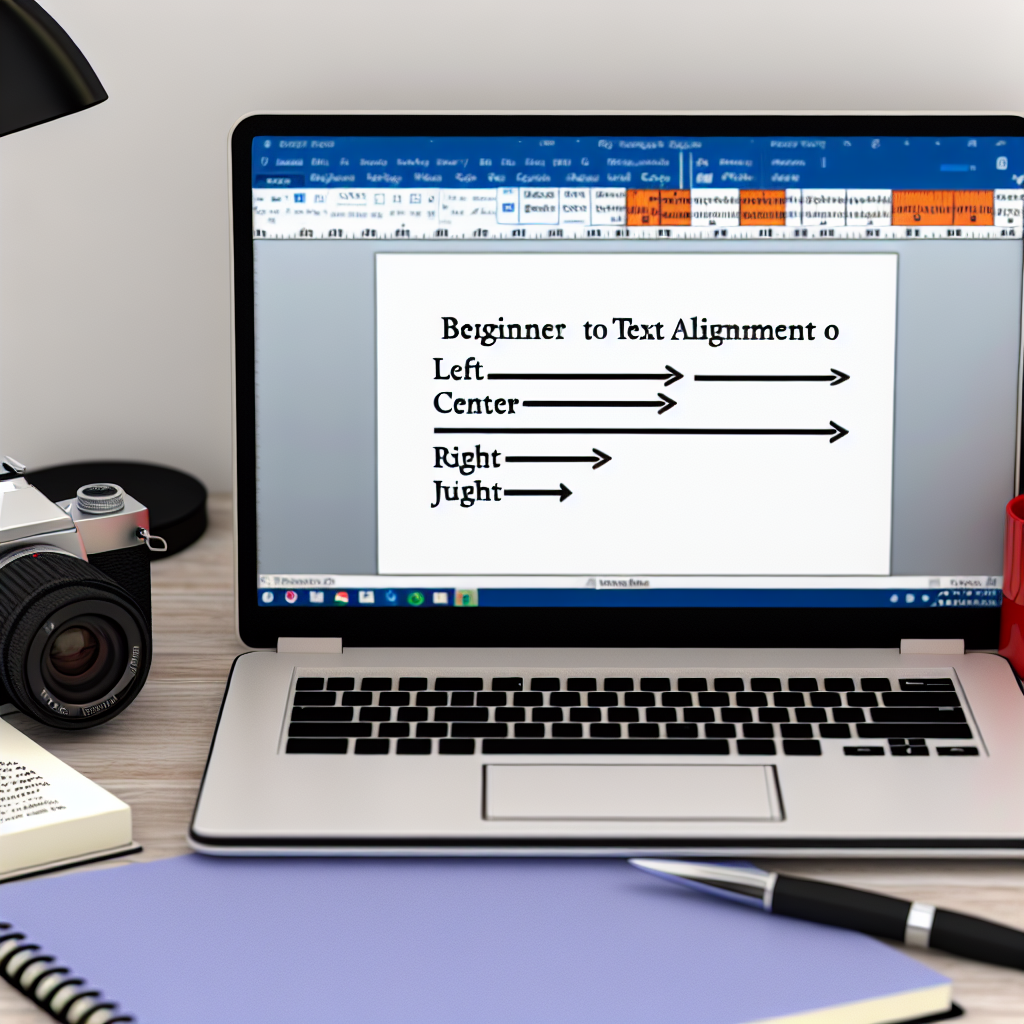
Proper text alignment is essential for creating professional and visually appealing documents in Microsoft Word. Whether you’re aligning text to the left, center, right, or justified, mastering these adjustments enhances readability and presentation. In this guide, we’ll walk you through simple, step-by-step methods to fix and customize text alignment in Word, perfect for beginners.
Understanding Text Alignment Options in Word
Before diving into the fixing process, it’s important to understand the different alignment options available in Word. These options include Left, Center, Right, and Justify. Each serves a different purpose and impacts the overall look of your document:
- Left Alignment: Typical default for most documents, aligns text to the left margin, leaving the right edge uneven.
- Center Alignment: Centers text between margins, ideal for titles and headings.
- Right Alignment: Aligns text to the right margin, often used for dates or signatures.
- Justify: Extends text to align evenly on both left and right margins, creating a clean block appearance.
To fix text alignment issues, first identify which alignment best suits your document’s purpose and select the appropriate option. Sometimes, unintended alignment can result from accidental selection or formatting errors, which can be corrected easily by following the subsequent steps.
How to Correct Text Alignment in Word
Correcting text alignment in Word involves simple steps that can be applied whether your text is misaligned or you want to change the existing alignment for better presentation:
- Select the Text: Click and drag to highlight the paragraph or block of text you want to format. If you want to adjust the entire document, press Ctrl + A to select all content.
- Use the Toolbar: Navigate to the Home tab on the ribbon at the top of Word. In the Paragraph group, you’ll find alignment buttons represented by lines aligned differently.
- Click the Desired Alignment Button: Choose from the icons for Left, Center, Right, or Justify. Your selected text will instantly adjust to your choice.
For more precise control, you can open the Paragraph dialog box by clicking the small arrow in the bottom right corner of the Paragraph group, where you can set specific indents and spacing that affect alignment behavior. Additionally, ensure there are no manual tabs or spaces that could interfere with your alignment settings.
In cases where text still appears misaligned after adjustment, check for hidden formatting or section breaks. Clearing formatting via the Clear All Formatting button (represented by an eraser icon in the font group) can also help reset the text to default, making alignment correction straightforward.
By understanding the different alignment options and following these simple steps, you can easily fix and customize text alignment in Word documents. Proper alignment improves readability and gives your document a polished look, essential for professional or academic work. Practice these techniques to become proficient in adjusting your document’s appearance effortlessly.
In summary, mastering text alignment involves recognizing the available options, selecting the appropriate one, and using Word’s toolbar or dialog boxes for precise control. With these easy steps, you can ensure your documents look clean, organized, and professional, whether for personal projects or official reports. Keep practicing to make your Word formatting skills second nature for all your document needs.
