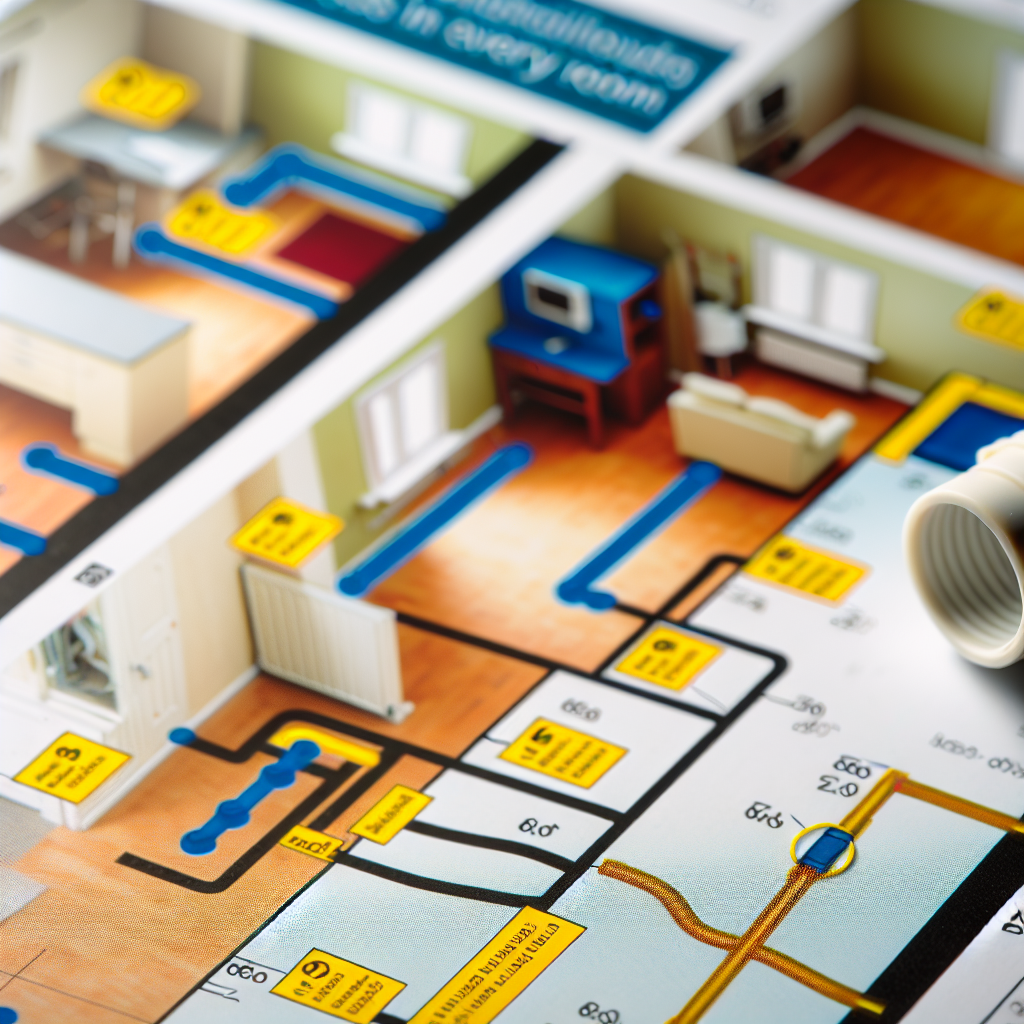
Properly installing electrical conduits for each room is a crucial step in ensuring safe, efficient, and code-compliant wiring systems within a building. Whether you’re a homeowner or a professional electrician, understanding the correct methods for conduit installation helps prevent future electrical issues and facilitates easy system upgrades. In this article, we will explore key steps and best practices for installing electrical conduits in each room.
Planning and Preparation for Conduit Installation
Before starting the physical installation, thorough planning is essential. Begin by **reviewing local electrical codes** and standards, such as the NEC (National Electrical Code), to ensure compliance. Measure and map out the layout of each room, identifying key points where outlets, switches, and fixtures will be installed.
Next, decide on the type of conduit suitable for each space—commonly used options include **PVC**, **EMT (Electrical Metallic Tubing)**, or **rigid metal conduit**. Consider the environment within each room: damp areas like kitchens and bathrooms may require waterproof or corrosion-resistant conduits. Always select conduit diameter that comfortably accommodates the wiring gauge and number of circuits.
After planning the layout, gather all necessary tools and materials, including conduit, connectors, elbows, fittings, and mounting hardware. Proper preparation minimizes delays and errors during installation.
Step-by-Step Conduit Installation Process
The installation process should be approached systematically, following these key steps:
- Mark and measure conduit routes: Use a chalk line or marker to outline the path of the conduit along walls, ceilings, or floors. Keep conduit runs as straight as possible to facilitate easier wiring and maintenance.
- Cutting and fitting: Cut conduit sections accurately with a hacksaw or conduit cutter. Deburr edges to prevent damage to wires. Connect conduit pieces using appropriate fittings—elbows for corners, connectors for junction points—and ensure all connections are snug.
- Mounting and securing: Attach conduit to walls or ceilings using clamps or straps at regular intervals (typically every 3 feet). Use a level to ensure conduit is straight and aligned. For ceilings, suspend conduit using suitable hangers, ensuring it doesn’t sag or interfere with other installations.
- Pulling wires: After the conduit is securely installed, use fish tape or a conduit pig to pull wires through. Make sure to leave extra length at terminations for easy connections. Once wiring is complete, terminate connections with the appropriate outlets or switches.
Throughout this process, double-check all connections and supports to avoid future issues. Proper sealing and grounding are also critical for safety and durability.
In conclusion, installing electrical conduits in each room requires careful planning, precise measurements, and systematic execution. Following electrical codes and best practices ensures a safe, functional electrical system that can be easily maintained or upgraded in the future. Whether you’re a professional electrician (#electrican, #electricalcontractor) or a handy homeowner, adhering to these guidelines will help you achieve reliable results and peace of mind.
