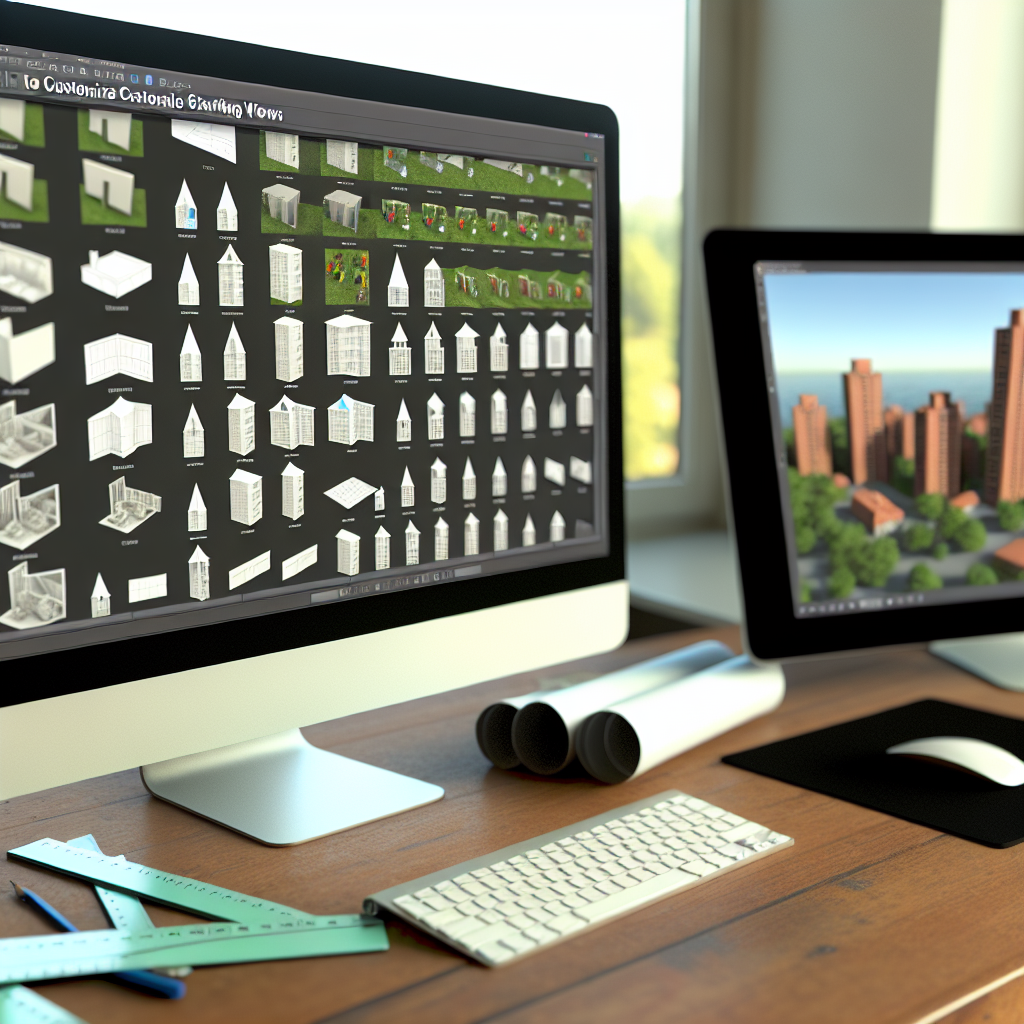
Setting the starting view for a Revit project is a crucial step in ensuring that users and team members see the most relevant perspective when opening a file. Properly configured starting views enhance navigation, streamline workflows, and improve project presentation. In this article, we will explore effective methods to apply and customize starting views in Revit, ensuring an optimized user experience.
Understanding the Importance of Starting View in Revit
The starting view in Revit determines the initial presentation when a file is opened. This view can be a plan, section, elevation, 3D view, or sheet, and plays a vital role in how efficiently users can access and navigate a project. Properly setting this view saves time, provides clarity, and facilitates better communication among team members.
To make the most of the starting view feature, it’s essential to understand its influence on project sharing and collaboration. For instance, configuring a specific 3D view as a default allows stakeholders to instantly grasp the overall design concept, eliminating the need for manual navigation through multiple views.
How to Apply and Customize the Starting View in Revit
Setting the starting view involves a series of straightforward steps, but attention to detail ensures consistency across projects. Here’s a comprehensive process:
- Select the desired view (plan, section, 3D, etc.) that you want to designate as the starting view.
- Adjust the view settings to ensure it displays the necessary information effectively, such as hiding unnecessary elements or setting the correct zoom level and orientation.
- With the view active, go to the View Control bar and right-click on the view tab.
- Select Set as Startup View from the contextual menu.
- Save your project to ensure the setting is retained.
For projects where multiple views need to be consistent, you can also automate this process by creating view templates or using Revit add-ins that streamline view management, ensuring uniformity across all team members’ files.
Additional Tips for Optimizing Your Revit Starting View
- Use scope boxes in plan views to control the extent and framing of views, providing a clean and focused perspective each time.
- Save view templates with predefined settings to maintain consistency when switching between views, which also helps in setting a standard starting view.
- Leverage 3D views to create engaging and informative initial presentations, especially for client meetings or project walkthroughs.
By thoughtfully applying these techniques, you ensure that your Revit projects start with a clear, professional, and user-friendly perspective, enhancing both productivity and communication.
Conclusion
Mastering the art of applying a starting view in Revit enhances project efficiency and user experience. By selecting and customizing views thoughtfully, utilizing view templates, and employing best practices like scope boxes, you ensure a consistent and professional presentation every time a file is opened. Implement these strategies today to streamline your Revit workflow and improve project clarity.
