Understanding how to effectively create and customize **Bearing & Distance Labels** in Civil 3D is essential for precise land surveying and civil engineering projects. Proper labeling enhances clarity and accuracy in your designs. In this tutorial, we will explore the steps to auto-label bearing and distance data seamlessly, ensuring your drawings are both professional and easy to interpret.
Understanding and Setting Up Bearing & Distance Labels in Civil 3D
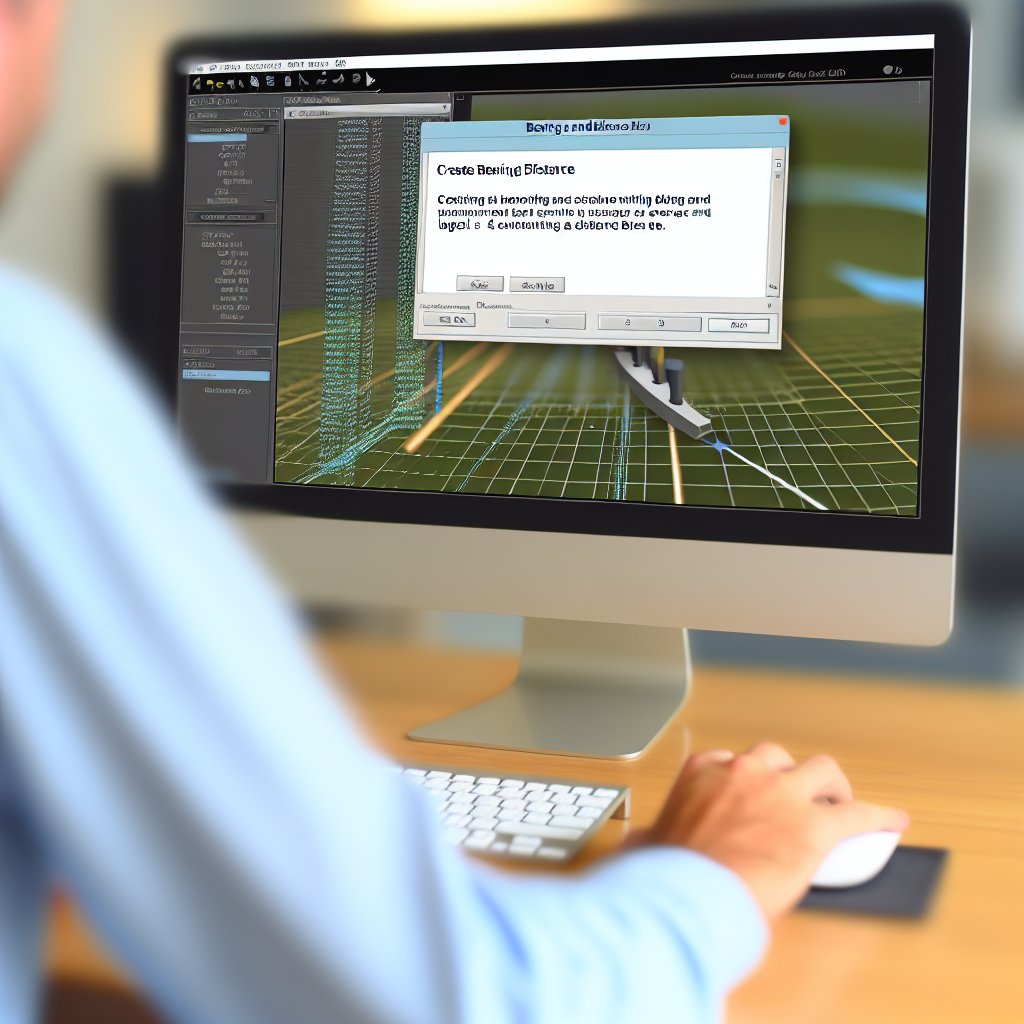
Automated labeling in Civil 3D streamlines the process of annotating alignments, parcels, and corridors with essential data such as bearings and distances. To initiate this process, it’s crucial to understand the fundamentals of **label styles and assemblies**. Civil 3D offers a variety of pre-configured label styles, but customization ensures that labels meet the specific standards of your project.
Start by selecting the object you wish to label, such as an alignment or a parcel. Access the **Labeling** tab within the ribbon, then choose **Add Labels**. From the dropdown, select **Line or Curve**, then opt for **Bearing and Distance**. The software prompts you to choose the label style—this is where customization begins. By editing the label style, you can specify what information appears and how it is formatted, including text size, arrow styles, and units.
Automation becomes even more effective when you utilize **AutoLabeling** options. These options allow Civil 3D to automatically generate bearing and distance labels along your geometry, reducing manual input and ensuring consistency across your drawings. Adjust the settings to match project standards, such as precision, label placement, and layer control.
Customizing Auto-Labels for Optimal Clarity and Accuracy
While default labels work well for many projects, customizing auto-labels in Civil 3D enhances the legibility and professionalism of your drawings. Begin by editing the default label style—navigate to the **Label Style Composer** to modify text styles, leader formats, and display parameters. You can define how labels appear in different contexts, such as on plan or profile views, and control placement relative to the geometry.
Key customization tips include:
- Adjust Label Text: Define whether bearing is shown in degrees, minutes, seconds, or decimal degrees. For distance labels, select units that match your project specifications.
- Control Label Positioning: Use leader lines and offset parameters to improve clarity, especially in dense drawings.
- Set Layer and Style Standards: Organize labels on specific layers and styles to facilitate easier edits and compliance with project standards.
To automate future labeling, save custom style settings as templates, allowing consistent application across multiple projects. Regularly review label placement and text to ensure updates reflect any project changes, thereby maintaining accuracy and professionalism throughout the design process.
In conclusion, mastering bearing and distance labeling in Civil 3D through auto-labeling techniques significantly improves workflow efficiency and drawing clarity. By understanding label styles and leveraging customization options, users can produce accurate, clear, and professional drawings tailored to project needs. Implementing these practices ensures your civil design projects adhere to high standards of precision and readability.