Embarking on a Revit MEP project for a retail store can seem daunting for beginners, but with a structured approach, it becomes manageable. This guide covers the essential steps to create a comprehensive MEP design, including HVAC, electrical, and plumbing systems, ensuring your project is detailed, accurate, and optimized for successful execution.
Planning and Setting Up Your Revit MEP Model
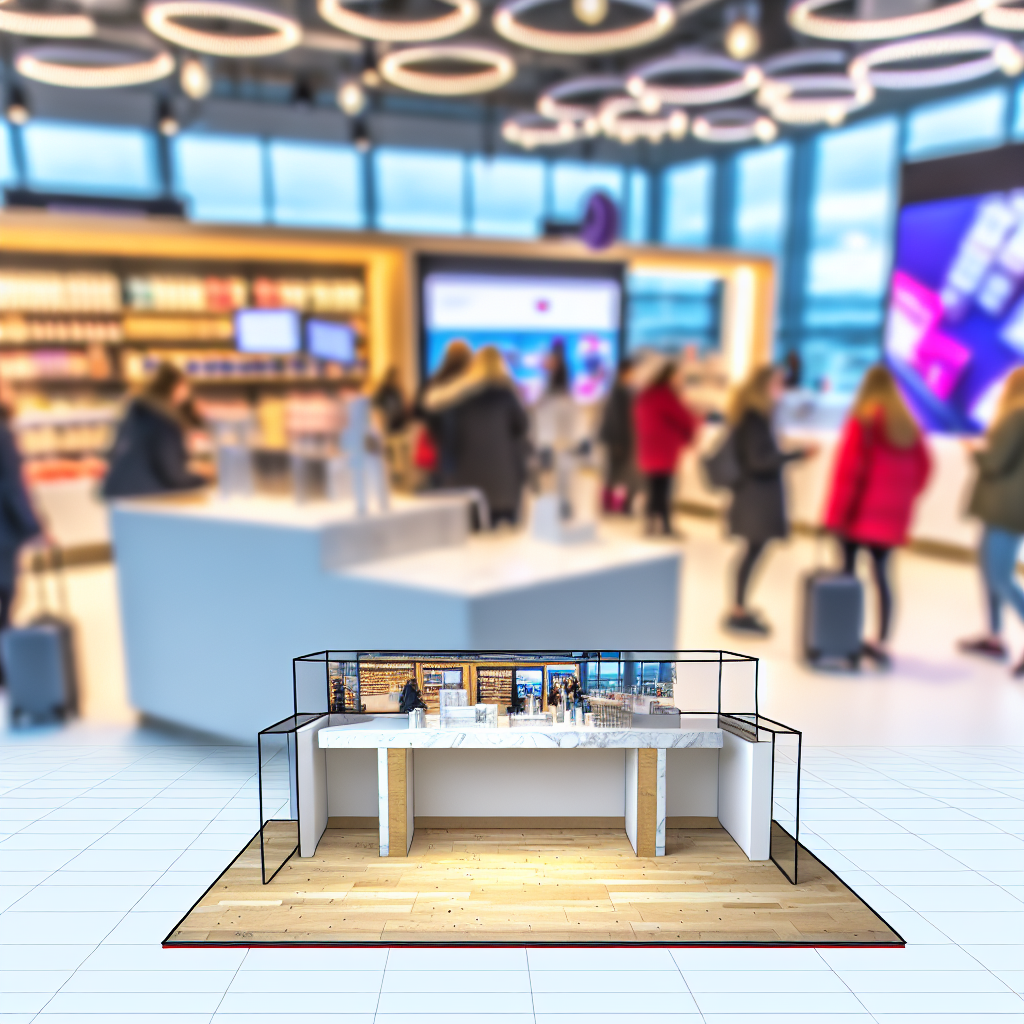
Starting a Revit MEP project involves meticulous planning to ensure all systems integrate seamlessly within the retail store environment. Begin by defining the scope and layout of the space, considering retail-specific requirements such as customer flow, product display areas, and back-office functions.
Next, establish a **detailed building model** using Revit’s architectural components, which serves as the backbone for all mechanical, electrical, and plumbing work. Proper setup includes:
- Configuring the levels and grids accurately to match the actual site plan
- Importing or creating accurate architectural walls, ceilings, and floors
- Setting up MEP systems with appropriate templates and standards to ensure consistency
During this phase, pay special attention to creating a **coordinated model** that considers space constraints and system interactions, such as HVAC duct trajectories, electrical conduit routes, and plumbing pipe runs. This proactive planning reduces clashes and revisions later in the project.
Understanding the specific needs of retail environments, such as demand for efficient HVAC zoning and accessible electrical panels, will guide your system placements and ensure compliance with safety and efficiency standards.
Modeling and Detailing HVAC, Electrical, and Plumbing Systems
Once the foundational model is in place, advance to detailed system modeling. For beginners, this step involves learning how to accurately place **FCU (Fan Coil Units), HVAC ducts, electrical fixtures, and plumbing components** within your Revit project.
HVAC System: Focus on selecting appropriate **Fan Coil Units (FCUs)** based on zone requirements, load calculations, and space constraints. Use Revit tools to draw ductwork, ensuring proper sizing, insulation, and clearance for maintenance. Incorporate sensors, diffusers, and exhausts realistically, paying attention to airflow and circulation efficiency.
Electrical System: Model electrical panels, lighting fixtures, outlets, and wiring routes with attention to load balancing and code compliance. Use electrical families that can be parameterized for circuiting and automation, which simplifies future modifications and analysis.
Plumbing System: Design water supply and drainage layouts considering fixture placement, pipe sizes, and pressures. Place piping for sinks, toilets, and HVAC condensate drains with precision, ensuring accessibility and compliance with local plumbing standards.
Throughout modeling, leverage Revit’s annotation and clash detection tools to identify and resolve conflicts early. Properly documenting systems with accurate specifications and schedules is crucial for the project’s success, especially for retail store maintenance and future upgrades.
Completing this step prepares the project for detailed analysis, coordination, and eventual construction documentation, setting a solid foundation for a successful retail store MEP installation.
Conclusion
Developing a complete Revit MEP project for a retail store involves comprehensive planning, precise modeling, and system integration for HVAC, electrical, and plumbing services. By following structured steps—setting up an accurate base model and detailed system components—beginners can produce efficient, clash-free designs. This approach ensures a smooth project workflow and optimal operational performance, essential for the success of retail environments.