Integrating architectural drawings accurately into CSI ETABS is essential for precise structural analysis and design. One of the common methods involves importing DXF or DWG grid files created in CAD software. In this article, we will explore the step-by-step process of importing architectural grids into ETABS, focusing on ensuring seamless integration for your structural projects.
Preparing Your Architectural Grid Files for Import
Before importing DXF or DWG files into ETABS, proper preparation of your architectural drawings is crucial. This process involves cleaning and organizing your CAD files to ensure that only the relevant grid lines are included, which simplifies the import process and enhances accuracy.
- Clean Your CAD Files: Use CAD software to remove unnecessary details such as furniture, annotations, or construction details that do not serve the structural grid purpose. Focus solely on grid lines, axes, and key reference points.
- Maintain Consistent Layer Organization: Assign grid lines and axes to specific layers, such as “Grids” or “References”. This allows for easier selection and filtering during import.
- Ensure Correct Line Types and Colors: Use distinct line types or colors for grid lines to differentiate them from other elements. This clarity helps during the import process to identify relevant lines.
- Verify Drawing Units: Confirm that your CAD file units (meters, millimeters, inches) match the desired input units in ETABS. Mismatched units can lead to scaling issues after import.
Importing and Aligning the Architectural Grids in ETABS
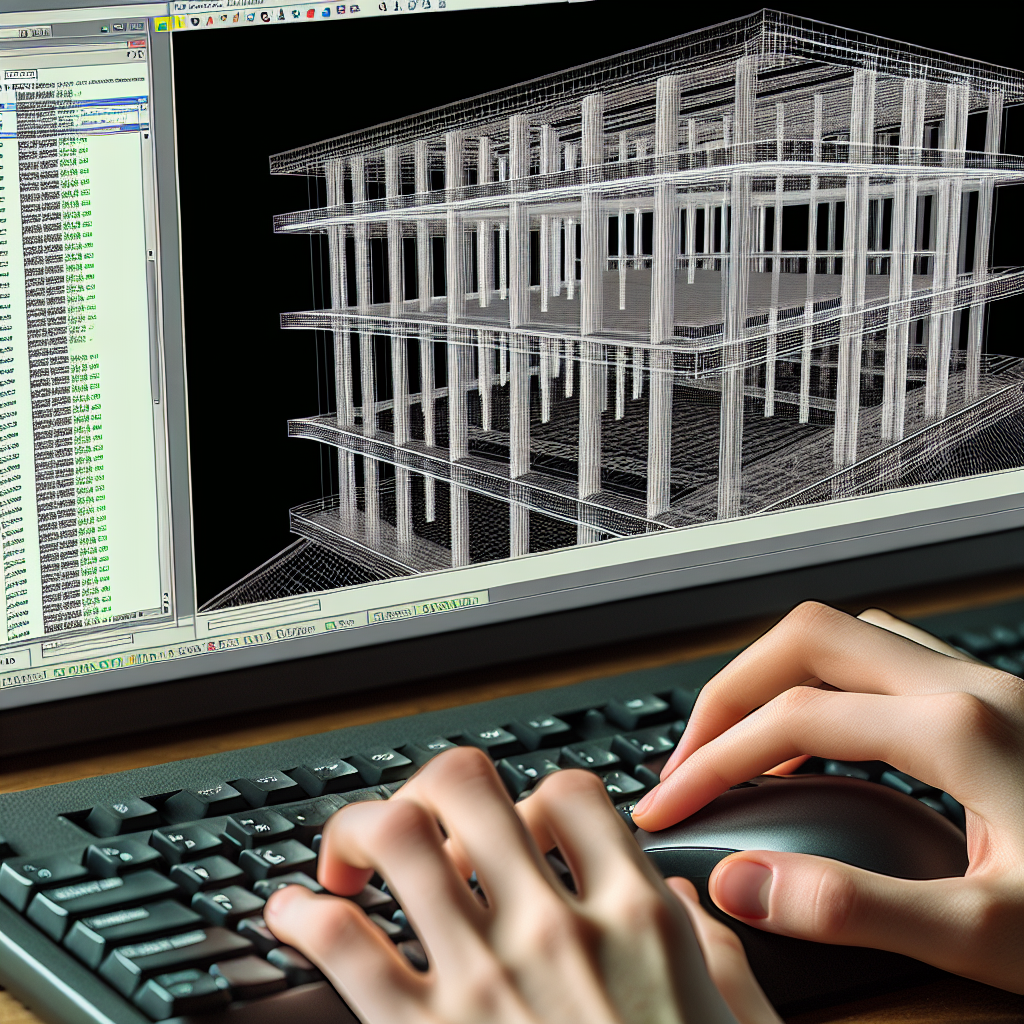
Once your CAD files are prepared, importing the architectural grid into ETABS involves a series of steps designed to accurately position and scale the grid within your structural model. This process ensures that your analysis geometry aligns precisely with the architectural layout.
- Start ETABS: Launch your project or create a new project where the grid will be imported.
- Access the Import Tool: Navigate to File > Import > CAD in ETABS, then select your prepared DXF or DWG file.
- Set Import Parameters: In the import dialog box, specify the units matching your CAD file, and choose the layers to be imported (e.g., “Grids” layer).
- Place the Grid: During import, ETABS allows setting a base point to position the grid accurately. Use reference points or known dimensions to align the imported grid with your project’s coordinate system.
- Verify the Import: After import, inspect the grid lines in ETABS for proper placement and scale. Adjust as necessary using ETABS’s move and scale tools to fine-tune the alignment.
Effective preparation and careful import of architectural grids streamline the process of creating a reliable structural model in ETABS. This foundation facilitates accurate load transfer, detail coordination, and efficient project workflow, leading to better structural designs and reduced errors.
In conclusion, mastering the import of DXF or DWG architectural grids into ETABS enhances your modeling accuracy and project efficiency. Proper preparation of CAD files and precise import techniques ensure your structural framework aligns well with architectural plans, paving the way for successful analysis and design outcomes. Consistent practice and attention to detail are key to leveraging this powerful feature effectively in your structural engineering projects.