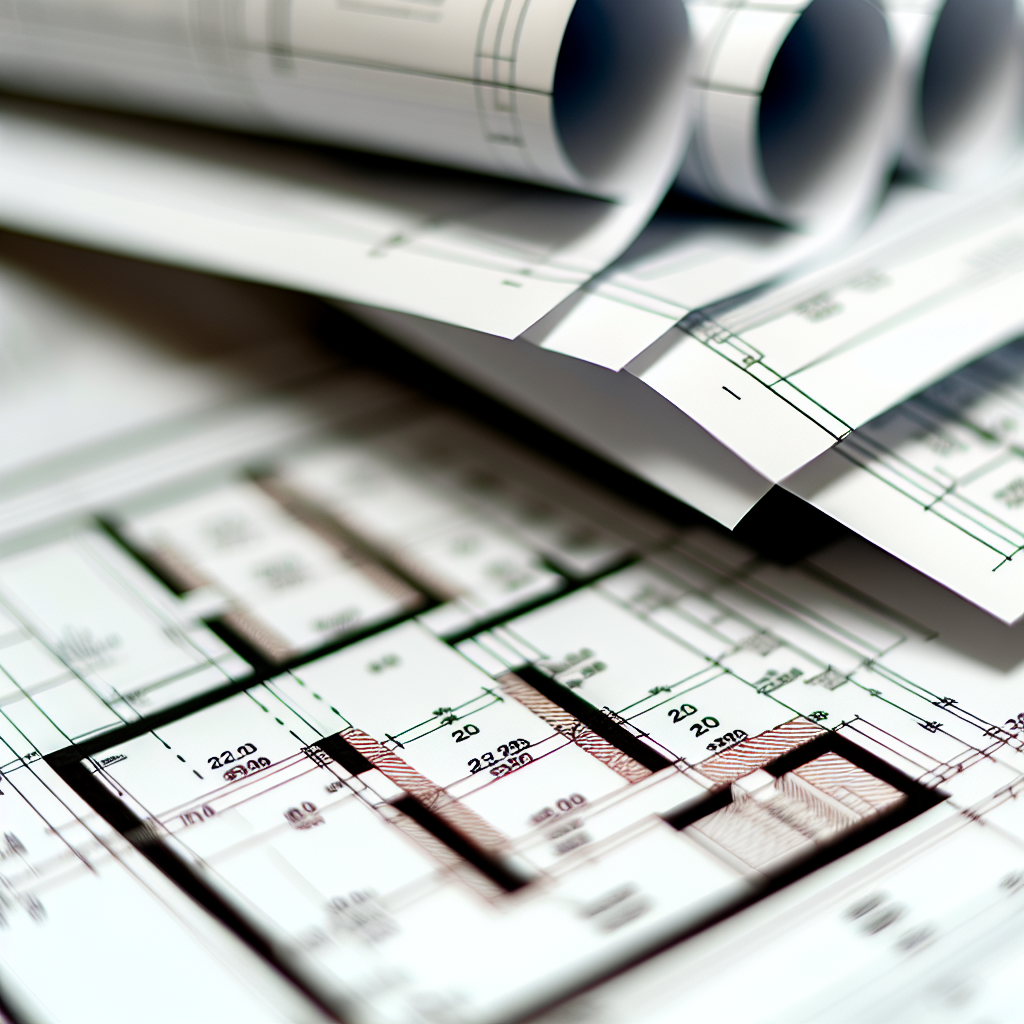
Numbering architectural drawings in Revit is a crucial step to organized project management, ensuring clarity and easy reference throughout the design and construction process. Mastering this skill can significantly streamline your workflow, especially in complex projects with numerous drawings. In this tutorial, we will explore how to effectively number your architectural drawings in Revit to enhance project clarity and efficiency.
Understanding Revit Drawing Numbering Standards
Before diving into the technical steps, it’s essential to understand the importance of adhering to standard numbering practices. A consistent numbering system not only improves communication among team members but also ensures compliance with industry standards and client requirements. Typically, drawing numbers in Revit follow a hierarchy that reflects the project’s organization, such as:
- Categories: Architectural plans, elevations, sections, details, etc.
- Sequence: Main drawings numbered sequentially within each category (e.g., A101 for Floor Plan 1, A102 for Floor Plan 2).
- Additional Codes: Subcategories or identifiers for specific areas or phases, if needed.
Establishing a clear standard before applying numbering in Revit can greatly reduce errors and rework later in the project. It’s advisable to create a project-specific drawing numbering protocol and communicate it with your team.
Implementing Drawing Numbering in Revit
Revit offers built-in tools for customizing and automating the drawing numbering process, making it easier to maintain consistency across your project. Follow these detailed steps to assign and manage drawing numbers efficiently:
- Set Up View Templates and Title Blocks:
Ensure your title blocks are configured to display drawing numbers correctly. Customize your title block family to include a Drawing Number parameter that can be linked to your views. - Create or Modify View Templates:
Assign view templates to your views that automatically set certain parameters, including the discipline and type, which can influence numbering conventions. - Assigning Drawing Numbers Manually or Automatically:
– For manual assignment, select a view, navigate to its Properties palette, and input the desired drawing number following your established standard.
– For automation, utilize Revit’s Sheet List schedules to generate and manage drawing numbers centrally, especially useful in large projects or when updates are frequent. - Use Revit’s Sheet List for Consistency:
Create a Sheet List schedule that captures all sheets and their assigned numbers. This schedule allows for quick editing and ensures uniform application of numbering conventions.
Furthermore, integrating custom parameters and label filters can help automate the numbering process further, ensuring each drawing is correctly numbered without manual errors. Always verify the numbering sequence after initial setup and before issuing drawings.
Conclusion
Understanding and applying effective drawing numbering in Revit enhances project clarity and organization. By establishing standard protocols and utilizing Revit’s powerful tools like templates, title blocks, and sheet schedules, you can streamline the process and reduce common errors. Mastering this technique ensures your architectural documentation remains professional, consistent, and easy to manage throughout the project lifecycle.