Embarking on a complete Revit MEP project for a retail store can seem daunting for beginners. This guide will cover essential aspects, including modeling and coordinating HVAC (FCU), electrical systems, and plumbing components within Revit. By understanding these key elements, newcomers can streamline their workflow and produce professional, efficient MEP designs tailored for retail environments.
Integrating HVAC Systems and FCUs into Your Revit MEP Model
In retail store projects, heating, ventilation, and air conditioning (HVAC) systems are crucial for maintaining a comfortable environment for customers and staff. Starting with the foundation, you should model **Fan Coil Units (FCUs)** accurately within Revit to ensure seamless integration with other MEP systems. Begin by positioning FCUs in strategic locations near critical zones, such as fitting rooms or checkout areas, taking into account space constraints and airflow requirements.
Use Revit’s *system families* to create realistic and parametric FCUs, allowing you to easily modify capacities and connections. Ensure proper ductwork routing by employing *rigid duct tools* for a clean, clutter-free design that minimizes conflicts. Additionally, leverage Revit’s *color-coding* features to differentiate between supply, return, and exhaust airflows, facilitating coordination among MEP disciplines.
Effective HVAC modeling in Revit demands a thorough understanding of **system types** (such as VAV or constant volume) and **connector placements**. It is also important to perform **clash detection** early on to prevent space conflicts with electrical and plumbing systems. These models should adhere to local codes and standards, ensuring both functionality and compliance throughout the design process.
Electrical and Plumbing Systems: Building a Cohesive MEP Model
After establishing the HVAC systems, turning focus to electrical and plumbing is essential to develop a comprehensive retail store MEP project. Electrical systems include **lighting fixtures**, **power outlets**, and **circuiting plans**. Utilize Revit’s *family libraries* to insert fixtures accurately, routing electrical conduits following a logical pattern that minimizes complexity and maximizes safety.
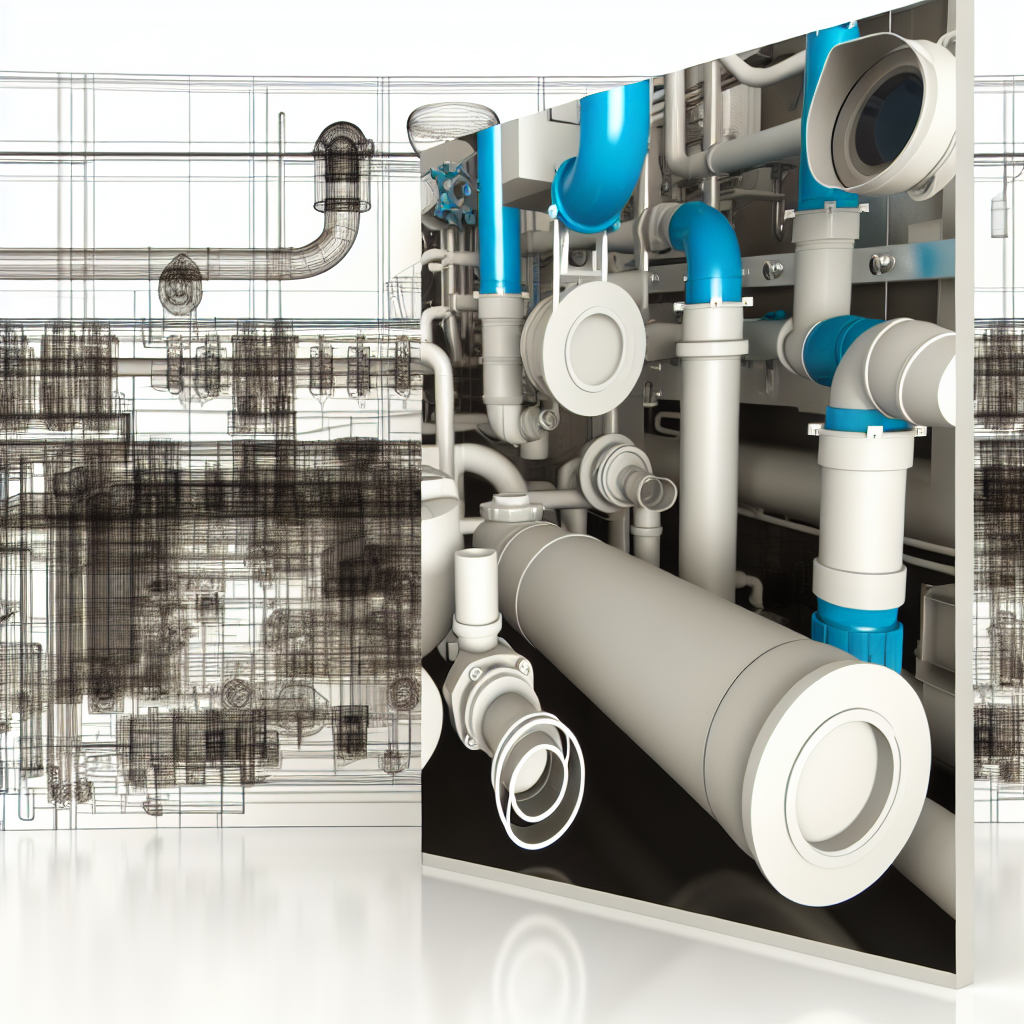
In plumbing modeling, prioritize the design of **water supply lines**, **drainage systems**, and **fire suppression components**. Use Revit’s *pipelines and system connectors* to visually connect water sources to fixtures, ensuring proper flow and pressure considerations. Incorporate **fire sprinkler systems** and **grease trap connections** as per retail-specific safety codes. Regularly verify clearances and potential conflicts with HVAC ductwork and electrical conduits to optimize spatial efficiency and maintain code compliance.
Ensuring synchronization between electrical and plumbing elements is vital. For instance, coordinate conduit runs with pipe pathways to avoid overlaps and conflicts. Properly tagging and annotating all MEP elements in Revit will facilitate future reviews, revisions, and construction documentation, leading to a smoother project execution.
In conclusion, a complete Revit MEP project for a retail store involves detailed planning and precise modeling of HVAC, electrical, and plumbing systems. Starting with effective HVAC placement, especially FCUs, followed by integrated electrical and plumbing designs, ensures a cohesive and compliant MEP model. Mastering these aspects will greatly enhance your ability to deliver professional retail projects, saving time and reducing errors in construction.