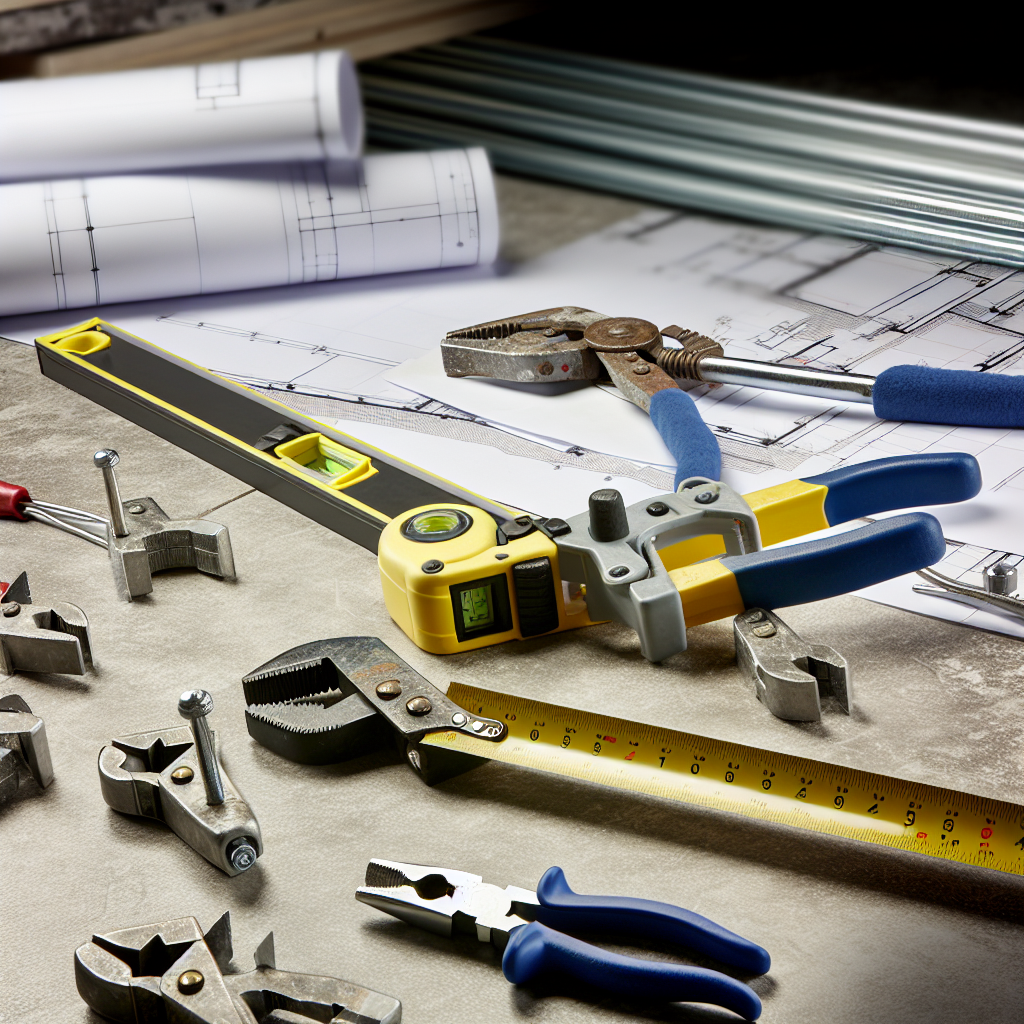
Suspended ceiling installation is an essential skill for creating sleek, functional spaces in commercial and residential settings. Having the right tools ensures a smooth, efficient process and a professional finish. In this article, we will explore the key tools required for suspended ceiling installation, highlighting their functions and tips for effective use.
Essential Tools for Suspended Ceiling Installation
Installing a suspended ceiling requires a specific set of tools designed for precision and efficiency. These tools help in measuring, cutting, fastening, and leveling ceiling components. Investing in good-quality tools not only speeds up the installation process but also ensures safety and accuracy. Here are some of the most important tools every installer should have:
- Measuring Tape and Chalk Line: Precise measurements are critical for aligning ceiling grid components. A measuring tape helps determine distances, while a chalk line ensures straight, visible guidelines for placement.
- Level and Laser Level: To achieve a perfectly flat ceiling, a level or laser level is essential. They help verify the horizontal alignment of suspension grids, preventing sagging or uneven surfaces.
- Tin Snips and Metal Cutting Tools: These are used to cut grid components, such as main tees and cross tees, to size. Sharp, durable tin snips allow for clean cuts, reducing material waste and installation errors.
- Drill and Screwdriver: For securing suspension clips, hangers, and acoustic tiles, a power drill with appropriate bits improves efficiency and consistency in fastening.
- Suspension Wire and Hangers: These are essential for suspending the grid framework from the ceiling structure. Quality wires and hangers ensure stability and compliance with safety standards.
Additional Tools and Tips for a Successful Installation
Beyond the core tools, certain supplementary equipment can enhance the installation process. A drywall lift, for example, can assist in holding heavy tiles in place temporarily, while a utility knife is useful for trimming tiles for fitting. Proper safety gear such as gloves, goggles, and dust masks should always be worn.
Another tip is to organize all tools beforehand and double-check measurements. This preparation minimizes mistakes and speeds up the process. Using a laser level in conjunction with traditional tools improves accuracy, especially in larger or more complex ceiling layouts.
Conclusion
In summary, successfully installing a suspended ceiling hinges on using the right tools, including measuring tapes, levels, cutting tools, drills, and suspension hardware. Proper preparation and attention to detail ensure a professional, durable finish. By investing in quality tools and following best practices, installers can achieve efficient, high-quality results that elevate any space’s appearance and functionality.
