If you’re working with complex Revit models, managing file size and performance can become a challenge. One effective technique is to **remove unused items** from your project using the Purge feature. This article explores how to effectively purge unused elements in Revit, offering tips to optimize your workflow and maintain a clean, efficient model.
Understanding Purge and Its Significance in Revit
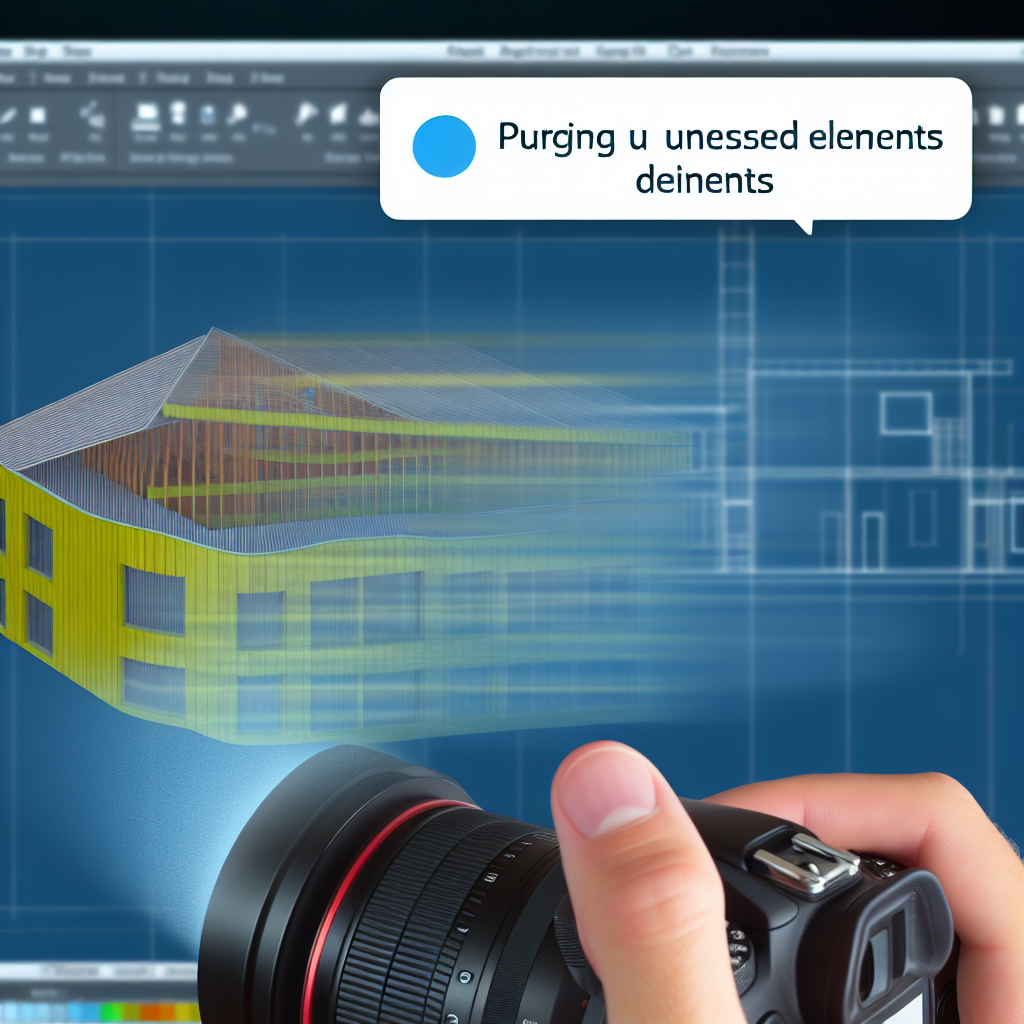
Revit’s **Purge Unused** tool is essential for maintaining optimal project health by removing all unnecessary elements, family types, and unused data. Over time, as projects evolve, they accumulate unused families, detail items, and other data that can bloat your file. Purging helps streamline this data, reducing file size and improving model performance.
To access this feature, navigate to the Manage tab and select Purge Unused. A dialog box will list all unused elements within your project, including families, text types, dimensions, and more. You can choose to purge individual items or all unused data at once. This process ensures your project stays lean, preventing slowdowns during work and rendering.
Best Practices for Effectively Using Purge in Revit
While the Purge feature is powerful, it’s important to use it wisely. Here are some tips to maximize its benefits:
- Regular Maintenance: Incorporate purging into your routine project management to keep files optimized consistently.
- Backup Files Before Purging: Always save a backup before purging, especially in large or complex models, to avoid accidental data loss.
- Review Unused Elements: Carefully review the purge list to ensure no critical elements are mistakenly marked unused, especially custom families or annotations you still need.
- Combine with Other Optimization Tools: Use additional Revit tools like Audit and Compact to further enhance file performance.
By following these best practices, you minimize the risk of deleting necessary data while ensuring your project remains efficient, lightweight, and easy to manage.
Conclusion
In summary, using the Purge Unused feature in Revit is a vital tip for optimizing project files, improving performance, and ensuring a clutter-free workflow. Regularly cleaning your model from unused items not only enhances efficiency but also simplifies project management. Adopting consistent purging practices will help maintain robust, streamlined Revit projects, making your design process smoother and more productive.