Welcome to this comprehensive Fusion 360 tutorial on Plyer 3D modeling and assembling. Designed specifically for beginners, this step-by-step guide will walk you through the fundamental techniques to create and assemble 3D models efficiently. Whether you’re new to CAD or looking to refine your skills, this tutorial will give you the confidence to explore Fusion 360’s powerful features.
Understanding the Fusion 360 Workspace and Basic Tools
Before diving into modeling, it’s essential to familiarize yourself with the Fusion 360 interface and core tools. Fusion 360 offers a user-friendly workspace divided into several key areas: the Browser, Timeline, Canvas, and Toolbar.
- Sketching Tools: These are fundamental for creating 2D profiles. Learn to use lines, circles, rectangles, and spline tools effectively, as they form the basis for your 3D models.
- Solid Modeling: Push/Pull operations, extrusions, and revolves allow you to convert sketches into three-dimensional objects.
- Assemblies: Fusion 360 enables you to assemble multiple components, managing joints, constraints, and movement to mimic real-world interactions.
Mastering these tools provides the foundation for creating detailed and precise models. A good practice is to start with simple sketches, applying basic extrusions, and gradually move towards assembling multiple parts to understand how components fit and function together.
Creating and Assembling Plyer 3D Models: Step-by-Step Approach
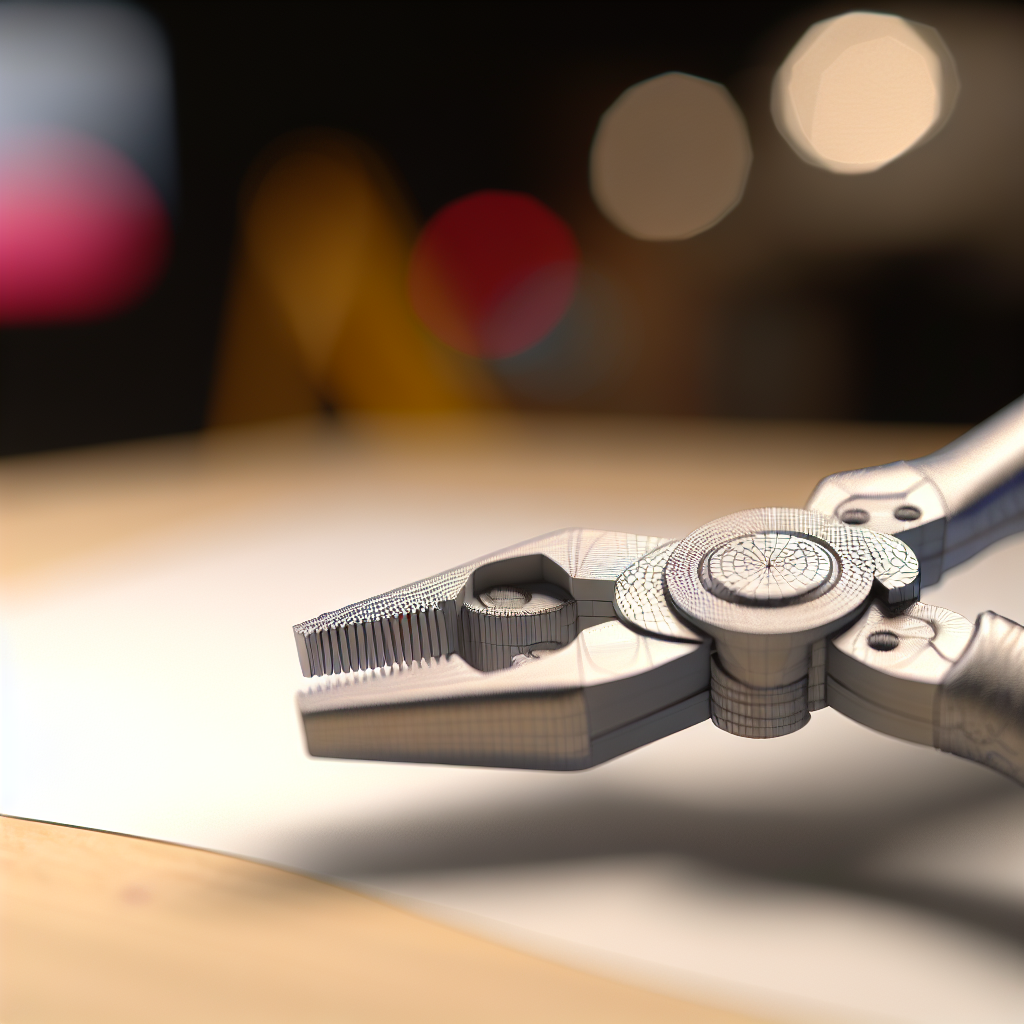
This chapter takes you through the core process of designing a Plyer component—from initial sketch to a fully assembled model. First, begin by sketching the base profile using the 2D sketch tools. Pay close attention to dimensions and constraints to ensure accuracy. Once satisfied with your sketch, use the Extrude command to create the 3D shape.
Next, add details such as cutouts, holes, or fillets to refine your model. Use the Combine and Pattern tools to create complex features efficiently. Once individual parts are complete, proceed to assemble them:
- Insert each component into a new assembly workspace.
- Use joint and constraint tools to align parts accurately, ensuring proper movement and fit.
- Apply motion or interaction constraints to simulate real-world functionality.
Throughout this process, constantly refer back to your initial sketches to maintain consistency. Additionally, Fusion 360’s simulation and analysis features can help validate your design, ensuring the Plyer model operates as intended.
By following this structured approach, beginners can develop confidence in their modeling skills, leading to more complex and functional designs over time. Practice, patience, and attention to detail are key in mastering Plyer modeling and assembly in Fusion 360.
In conclusion, mastering Fusion 360 for Plyer 3D modeling and assembling involves understanding the workspace, developing precise sketches, and assembling components accurately. This step-by-step tutorial provides a solid foundation for beginners to explore CAD design confidently. Keep practicing these techniques, and you’ll soon be able to create detailed, functional models with ease and efficiency.